|
Considering we’re all stuck in quarantine, I decided to put together a video of how I edit photos. The goal here is to show what I look at when I’m adjusting a photo, explanations for why I do what I do, and some things I’ve found that work well for me. This isn’t my favorite edit or favorite photo I’ve ever taken but it still shows you the process. This also isn’t exactly tutorial status. It’s basically just me narrating what goes on in my head while I edit a photo. So if you don’t have some basic knowledge of Lightroom, this video may be a bit too fast. Anyways, enjoy the video! I hope it gives you some ideas and inspiration.
0 Comments
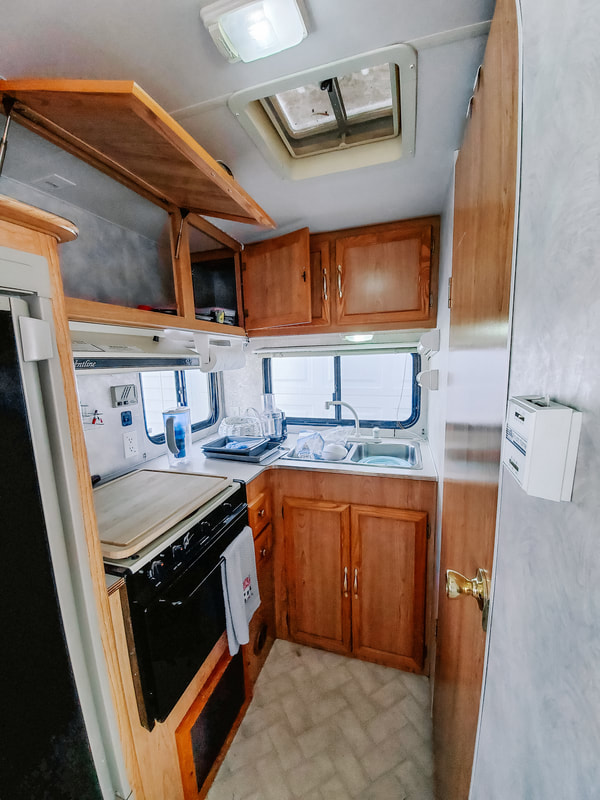
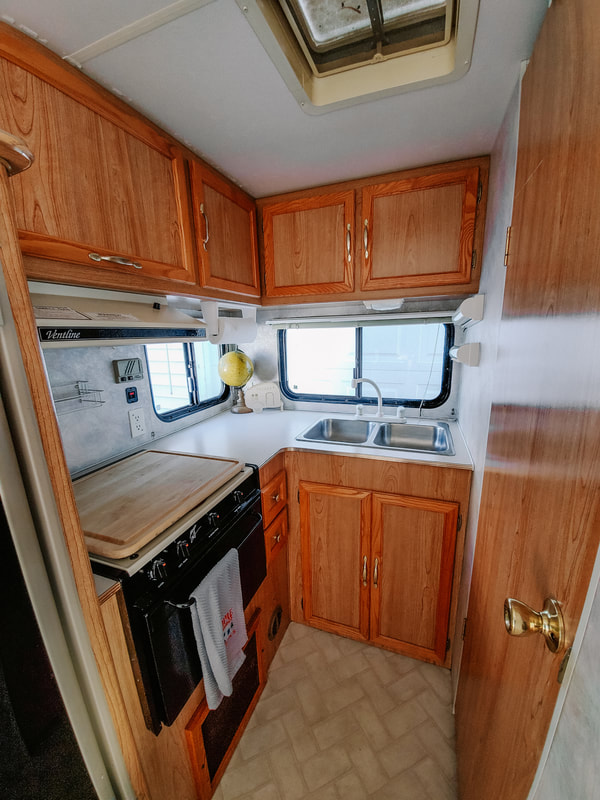
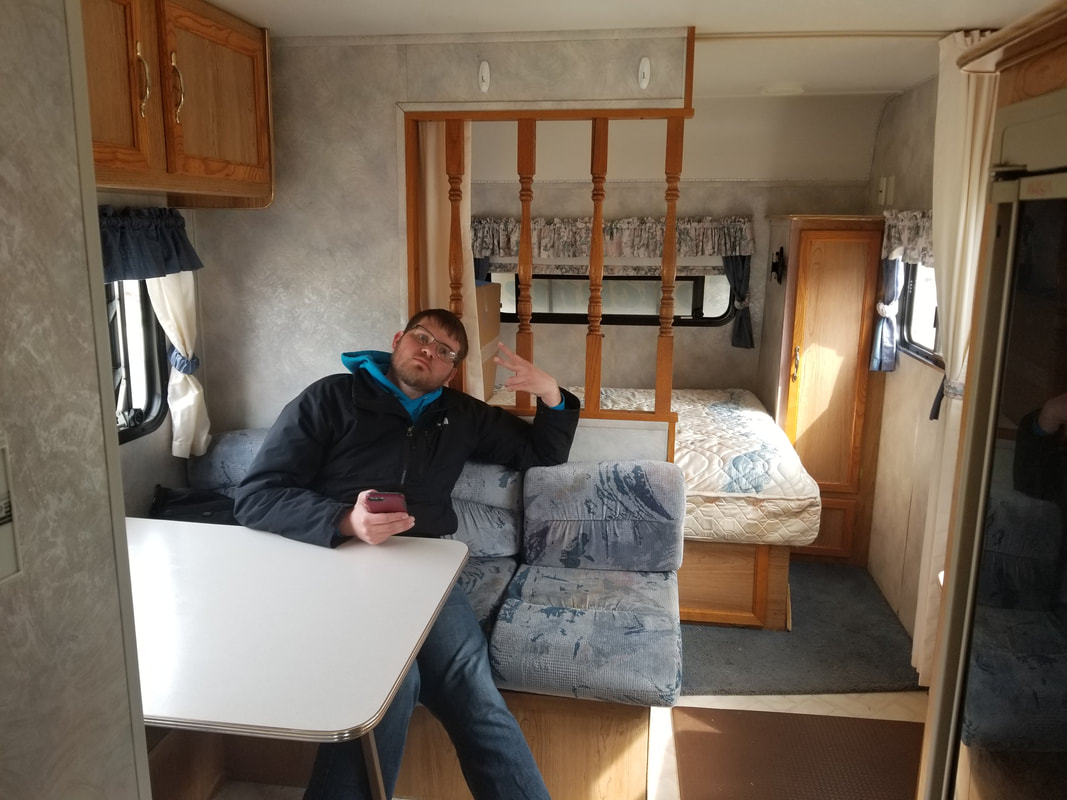
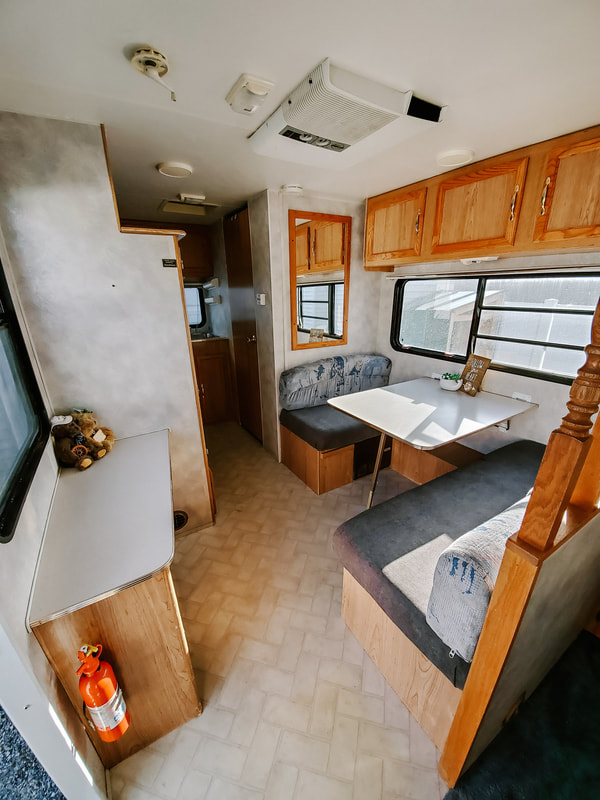
We've posted lots of times about the 1996 Coachmen Catalina we bought last year. We honestly have only used part of its RV abilities. All last summer, we used it as a fancy tent with electricity. We've slowly been learning the ropes of RVing. And let me tell ya, there's a lot to learn with an RV. So far, we've got hitching up, driving, and parking down (for the most part). I'd argue that's the toughest and definitely the most stressful part. Now we're prepping to use all the other hookups and use like the sinks and toilet for the first time. Here's what we've got so far! Kitchen 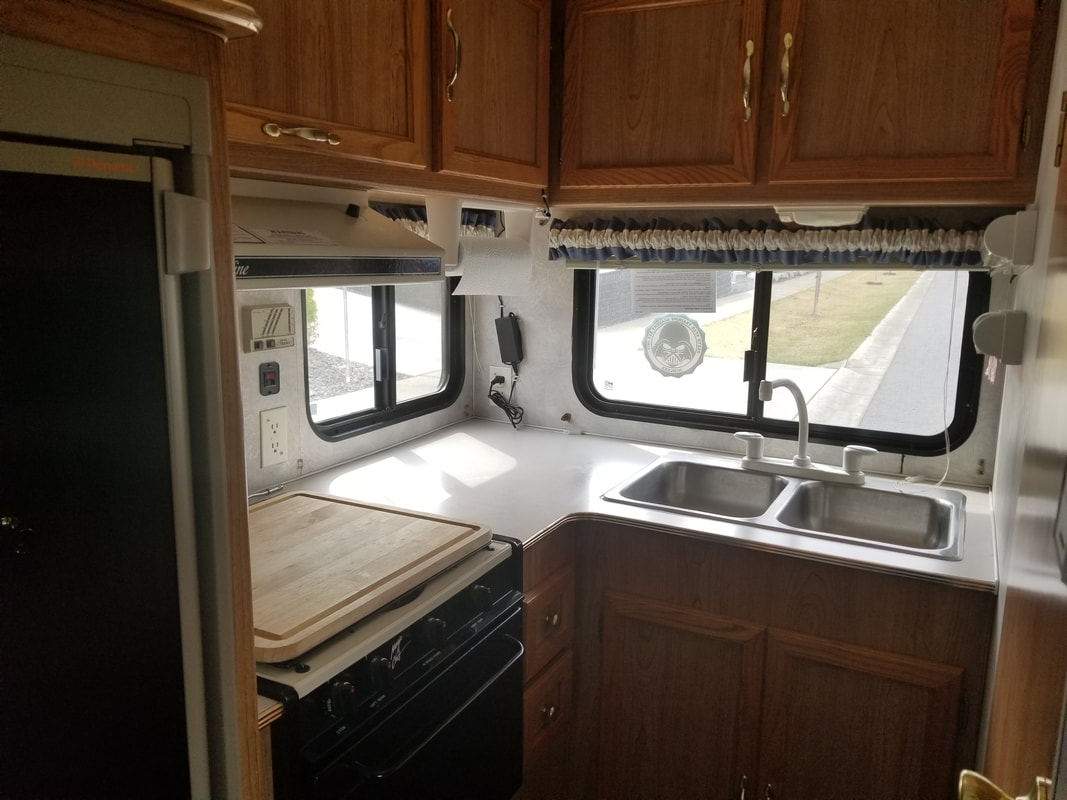 Day We Bought It
First off, we took down the awful ruffles and the bumper sticker. We don't plan on replacing the ruffles with curtains or another substitute. They don't put curtains in the kitchen since it could be a fire hazard. For simplicity, we're just going to leave the metal bars there empty. Next we removed the LED lights so we could get rid of that black electric box hanging in the kitchen. Then a deep clean and organizing all our designated kitchen dishes.
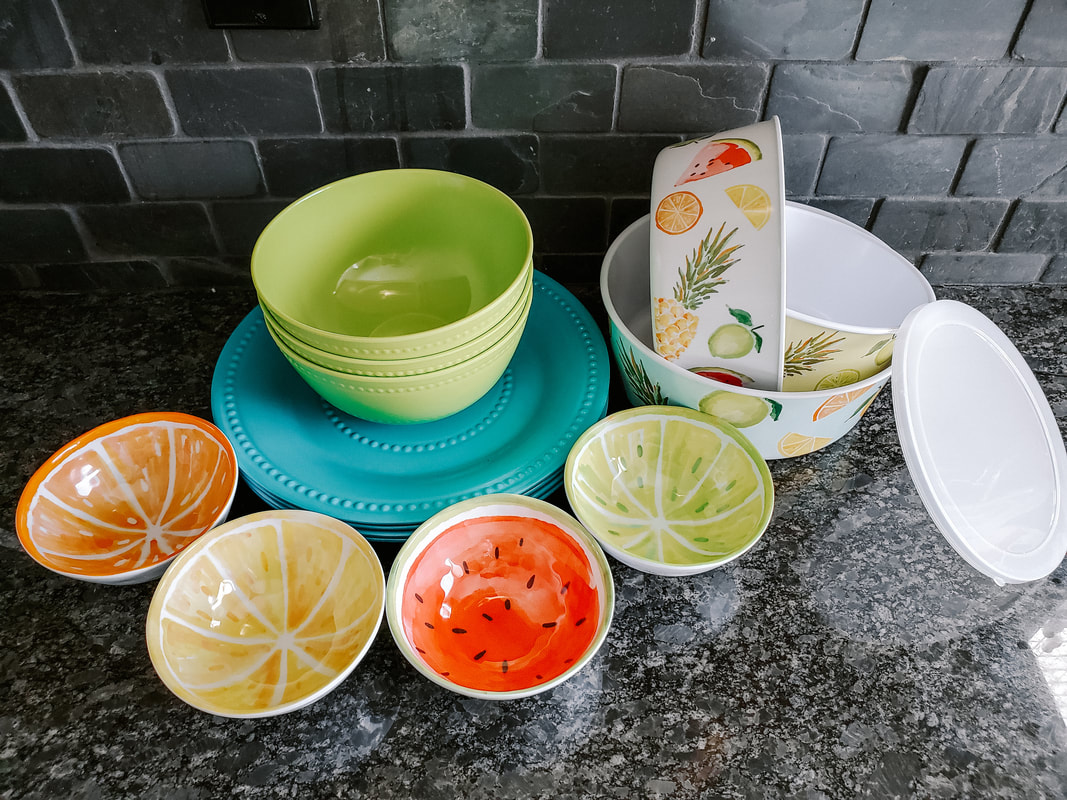
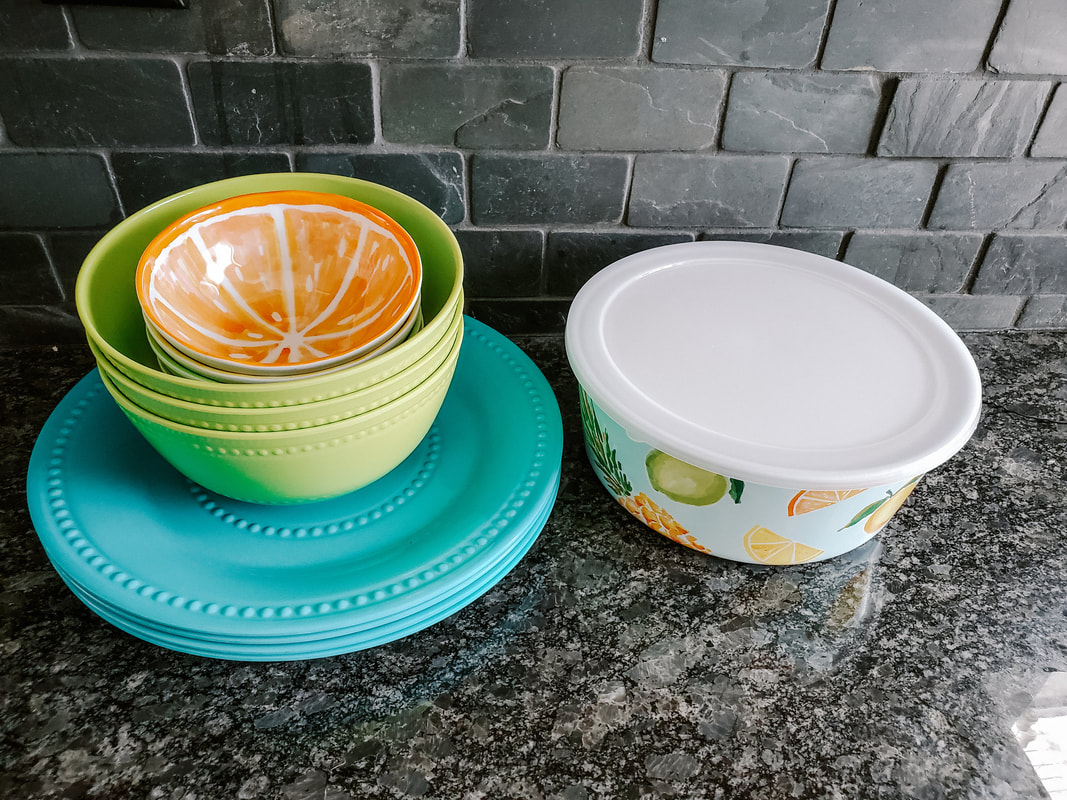
Here's part of the dishes we're bringing. These are designated only for the RV. These are all plastic dishes where we have all glass at home. Since we don't have a dishwasher and they're in a moving vehicle, most people only pack plastic in their RV. In addition to this, we packed a few metal pans (small enough for the oven), small size cutting board, and four of each utensil. We have three glass leftover containers we're bringing so we can safely put them in the microwave. These also stack together and to make sure they are protected, we just put napkins between each layer. For our extended trip, we'll pack all our usual essentials before we go (like cheese slicer, stirring spoons, pots, pans, etc.). When I was a kid, we always had dishes in the RV and they never left. We just took old stuff and added it to the RV instead of giving it away. Considering we're living in the RV for 2 months and all our stuff is going into storage, we aren't going to do that yet. It's really nice when you're prepping for a week long trip to have a set of kitchen stuff already there. We need to save space though so we'll be using our usual kitchen utensils (that aren't glass). We'll eventually stock the RV with only RV dishes but not until we're done with our long term trip. Dining Area
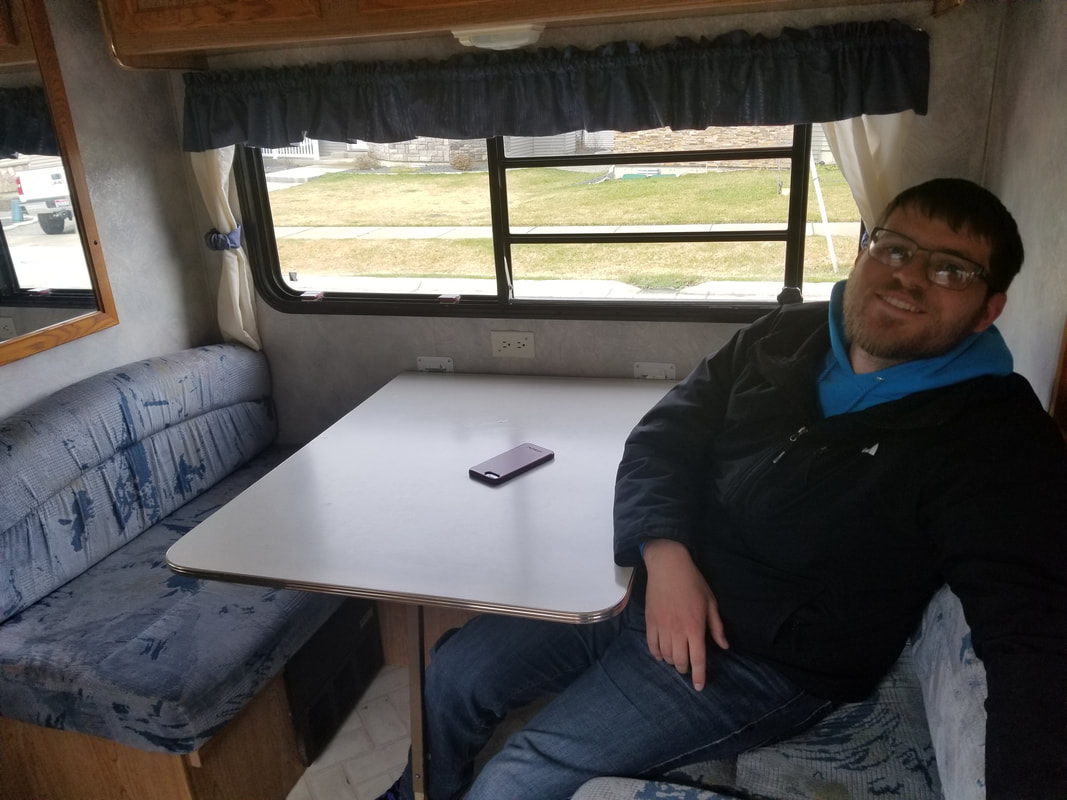
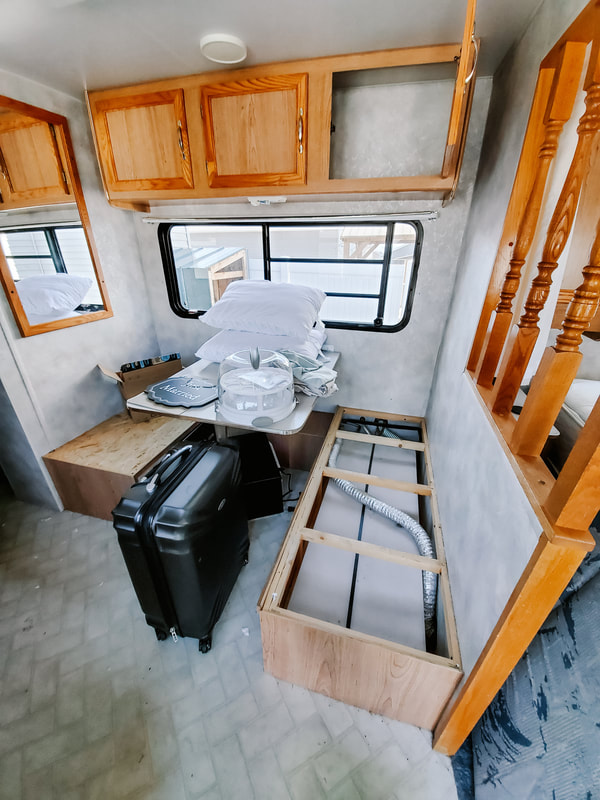
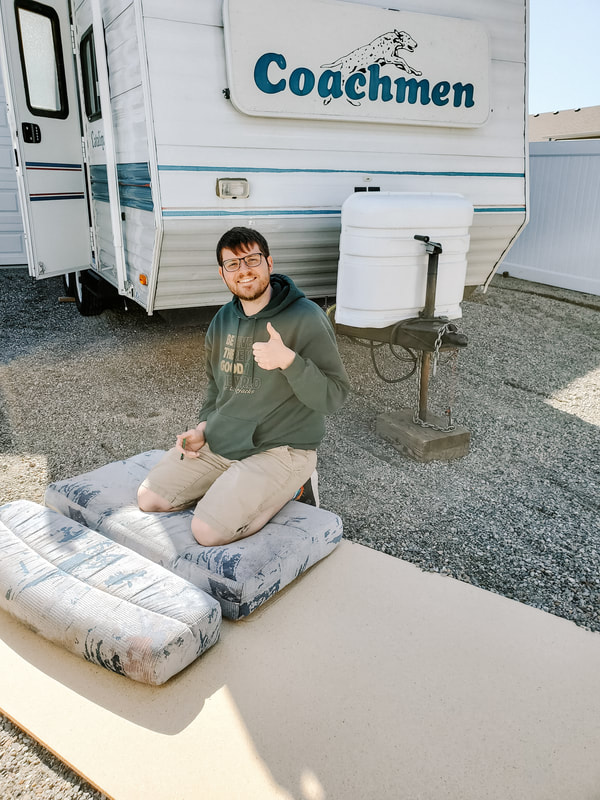
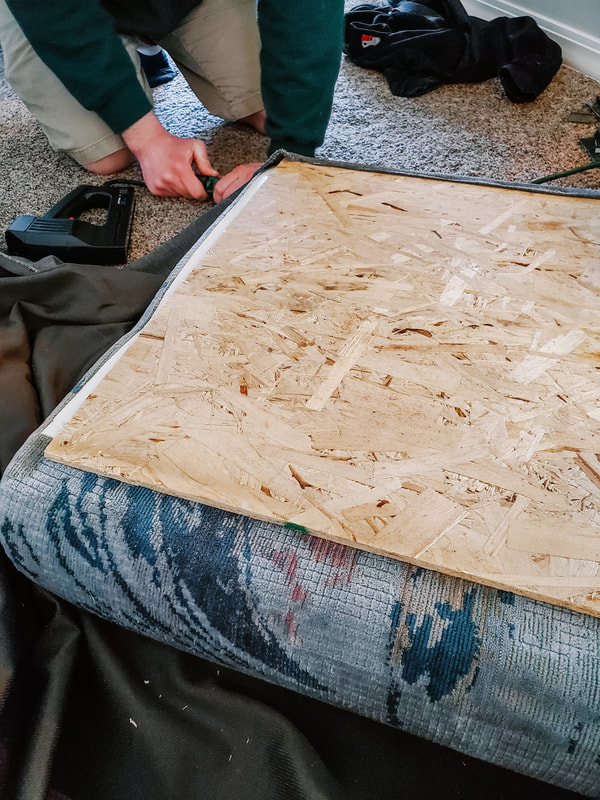
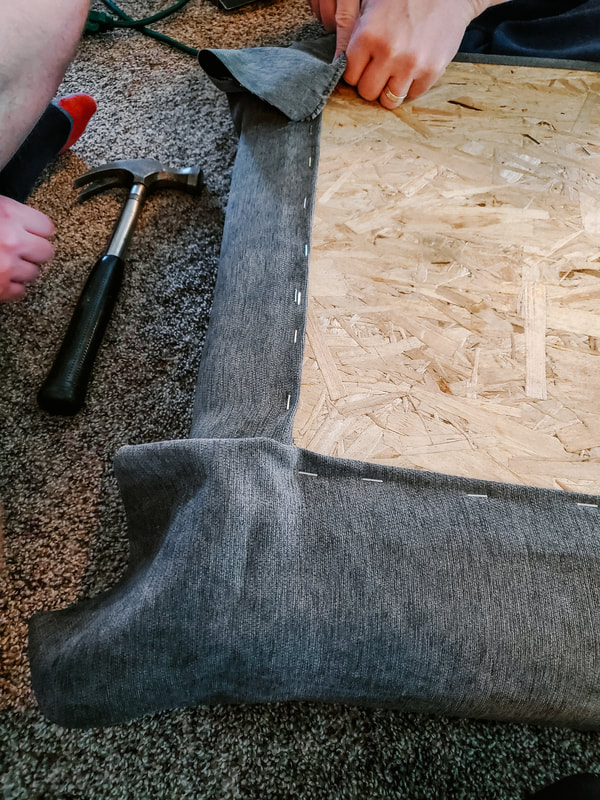
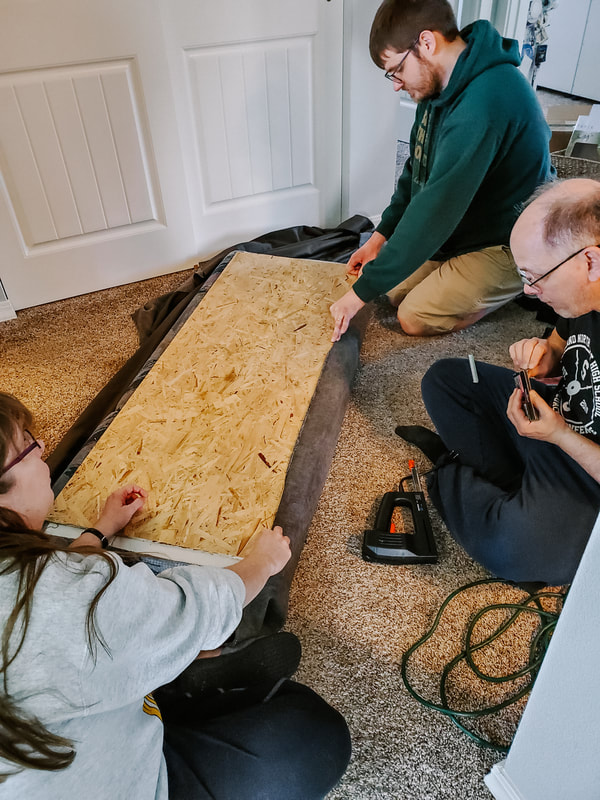
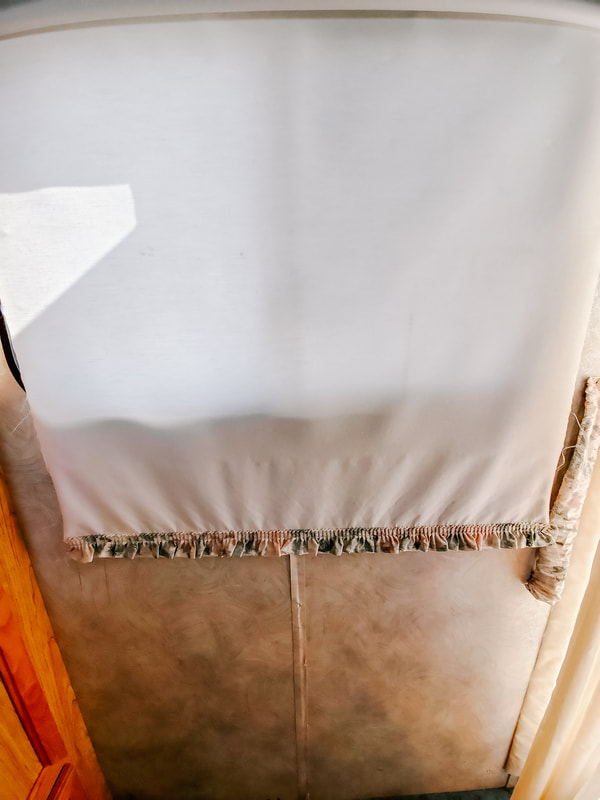
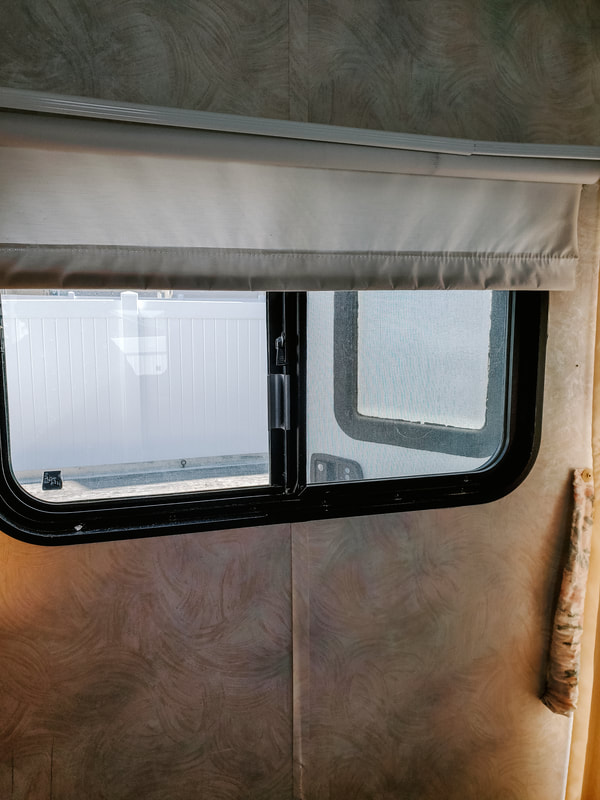
Our first step here was also taking down the curtains. They're so ugly and super easy to take down. We bought navy blue chevron fabric to replace the curtains later. Next was reupholstering the seats. The fabric really ages the RV. We bought some heavy duty fabric at Joann's. Unfortunately, we only had enough to do the bottom cushions. We're going to see if we can get more fabric later. It may end up being a different color since we bought it on sale last year. As for upholstery, we recommend you look up a YouTube video of someone who actually knows what they're doing. What we decided to do was add wood boards to the back of each cushion and staple the new fabric to that. Part of why we did this is so the old cushions can be restored by removing the staples. We did no damage to the original seats. The previous owners did a lot of weird modifications we had to redo and we want the next owners to be able to undo what we did.
We bought a big piece of compacted wood that's around a quarter of an inch thick. It's thick enough for the staples but thin enough so the cushion fits. We ended up using the wood bases already there for the bottom cushions. One lead to the hot water tank so it was already removable. It's still able to be removed which is important for maintenance. The second side didn't lead to anything so it wasn't removable. We only had to take out 4 screws to remove that board. We trimmed down both boards a little bit to make sure the extra fabric wouldn't throw off the fit. By the end, we had two seat cushions that fit perfectly in the slot. For the actual upholstering part, we just used a staple gun and were careful to keep the board even until it was secure. We made the fabric taunt but made sure the fabric wouldn't tear when we sat down. Another modification was the extended seat. In lots of RVs, they have one side of the dinette longer than the other. Usually the extra cushion for this is just a small added section. We theorize that this is to save money on production. They produce all the same seat cushions and then only need the small part to add on later. Anyone who has had an RV with one has hated it. They fall off, fall over, and are incredibly inconvenient. We upholstered those two pieces on the long bench together so we didn't have to worry about it anymore.
Here's the final product of one bench! We ran out of fabric so we'll be be doing the back rests later. You can also see the close-up of the tacky old fabric behind it. 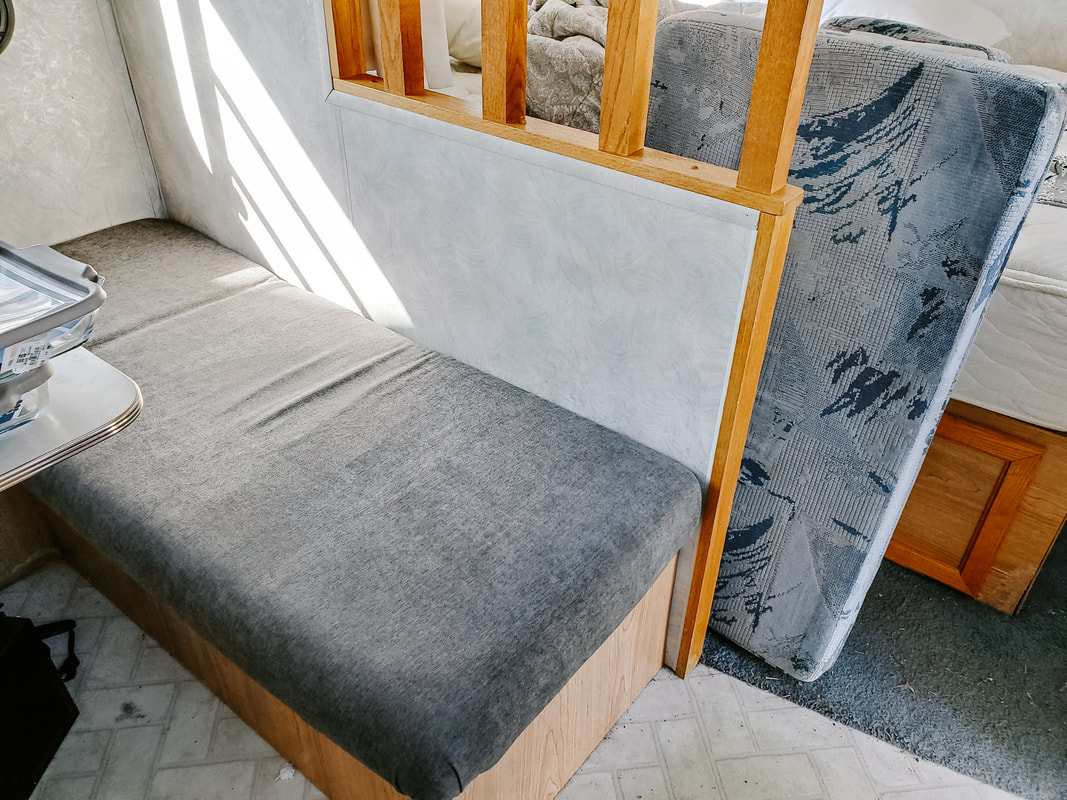 Final cushion (the one that we fit the two cushions together) Bedroom
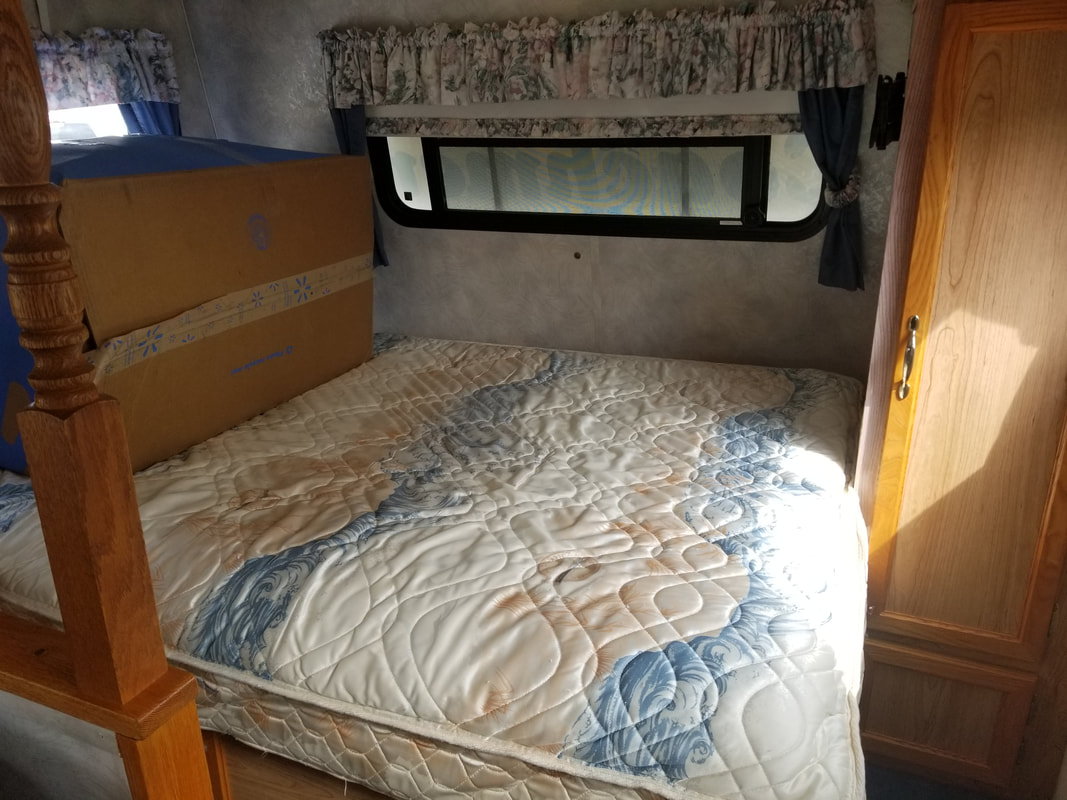
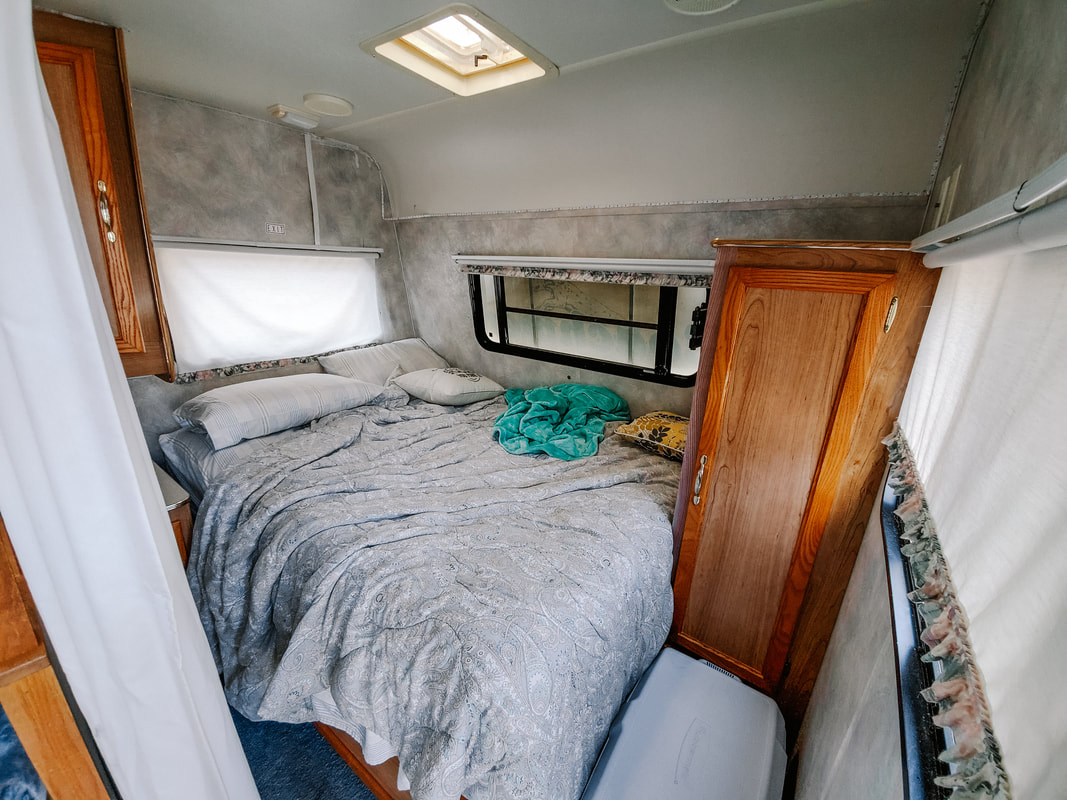
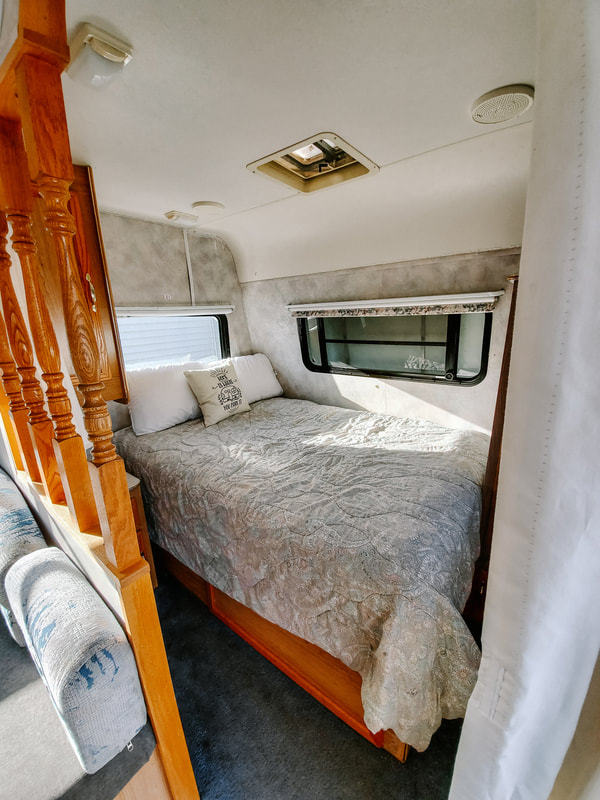
Again, first step was curtains. Next was replacing that horror mattress. It was literally blocks of foam jigsawed together in a mattress cover. Thankfully for us, we upgraded our mattress when we got married and took our old full size bed to replace the foam Frankenstein. Next was the ruffles sewed to the blinds themselves. No idea why you would ever do that but that's what we got. Not pictured is a TV mount that was drilled into the closet so you could watch TV from bed. We had to remove it for two reasons: the screws were going to tear clothes in the closet and the cabinet it was drilled into wasn't strong enough to hold a TV.
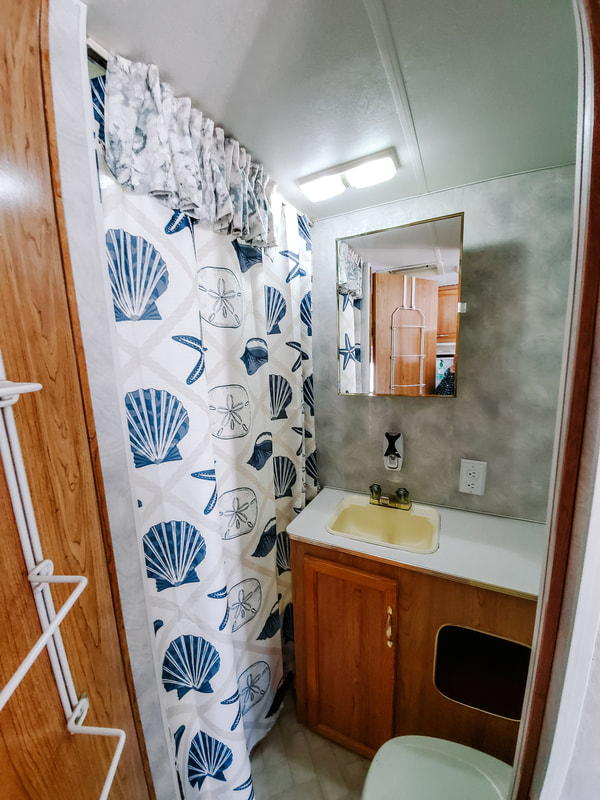
Bathroom
The bathroom was an easy one. It just had an extra fluff at the top attached with plastic clasps that had no purpose. The previous owners replaced the shower curtain with a cute one so we kept it. The sink is old looking but there's nothing we can do about it. Miscellaneous
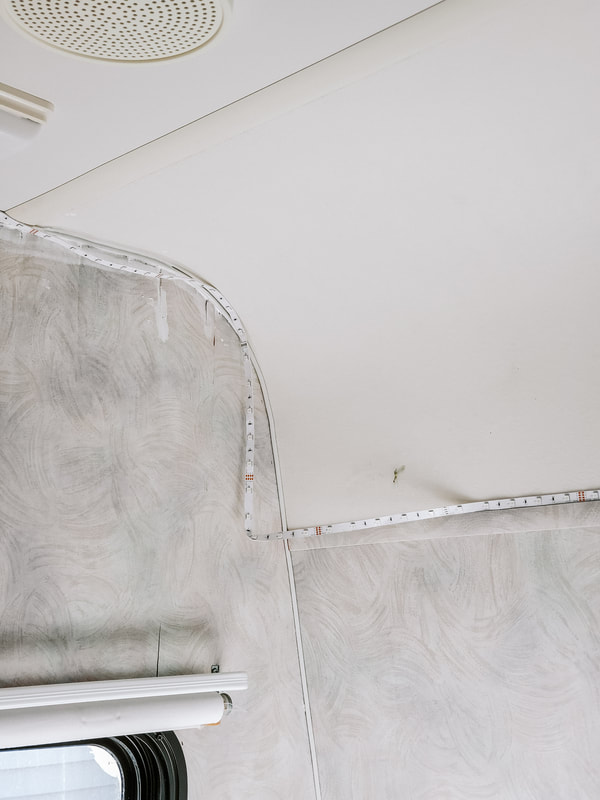
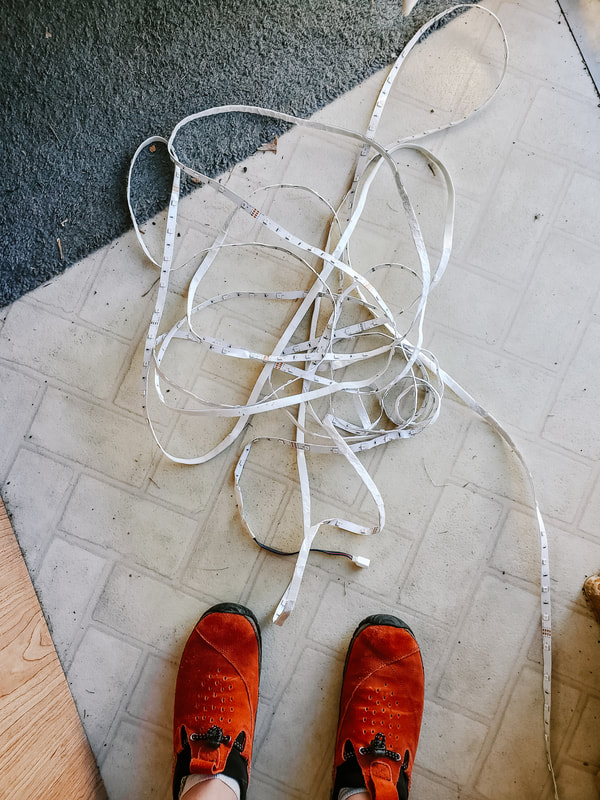
For whatever reason, the previous owners put around 35 feet of LED lights inside and outside the trailer. They're absolutely hideous. There were multiple electric boxes foam taped everywhere. We had to take down so much and some of it ripped the walls. I'd like to just take a moment and say...DON'T PUT UP LED LIGHTS IN AN RV. Also please don't drill stuff into the walls. RVs are cheaply and lightly made. You can't repair holes in the wall. We have so much damage from unnecessary features that could've been mounted in other ways. For example, one of our wall damages from screws is from a metal sign. Just lean it against the spot you want it. The whole point of this is to make sure you know that RVs aren't houses. You can't fill holes and paint over stuff. The cabinets are particle board with wood grain stickers on top. The walls are just a couple steps above cardboard. 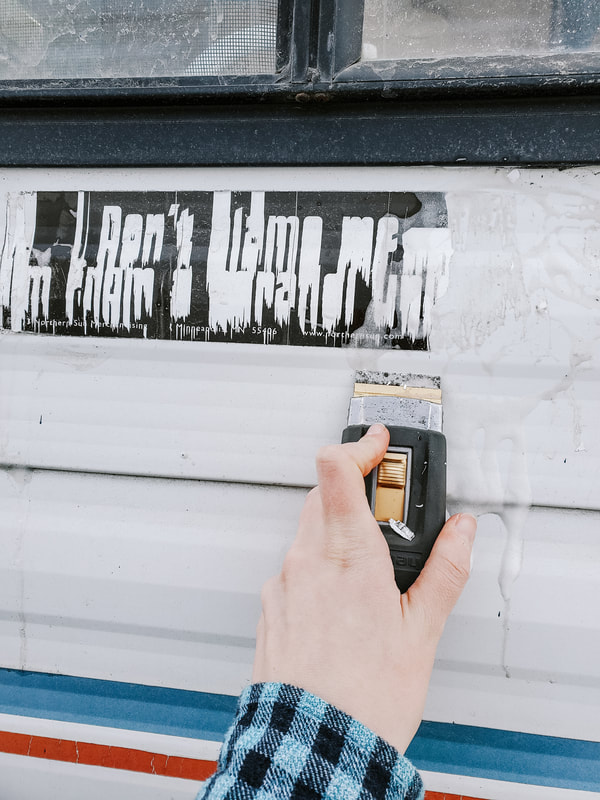 Next rant, don't put stickers on the siding of an RV. Windows are fine. There was an awful sticker on the window and it easily came off. Now this one has been a nightmare. Beyond taking me a couple hours, it's left permanent damage. There's little scrape marks from the blade (the only thing that will get it off). The foam is just window cleaner and I used it to make it an easier surface to work on. It prevents some of the scratches and makes the blade move smoother. Just as some general advice, make sure you don't add irreversible changes to large purchases such as cars and RVs. Just because you think it's cool, doesn't mean the next owner will. We bargained down because of the damage that would be left from the modifications the previous owners made. Don't lose money because you didn't take the time to find a way to make the modification in a way that's reversible. Also don't expect your modifications to increase the value of what you're selling. Some things do but many things won't give you a higher sale price at the end. On a positive note, look how cute these towels my grandma made are!  |
Miki & BobWe're an adventurous couple that travel internationally and travel nationally in our RV. We have a corgi named Sophie that comes along on our adventures. Our goal is to encourage others to travel and show genuine travel over Instagrammable travel. CategoriesArchives
April 2020
|

 RSS Feed
